Friday, August 28, 2015

Toddler/Travel Pillowcase Tutorial


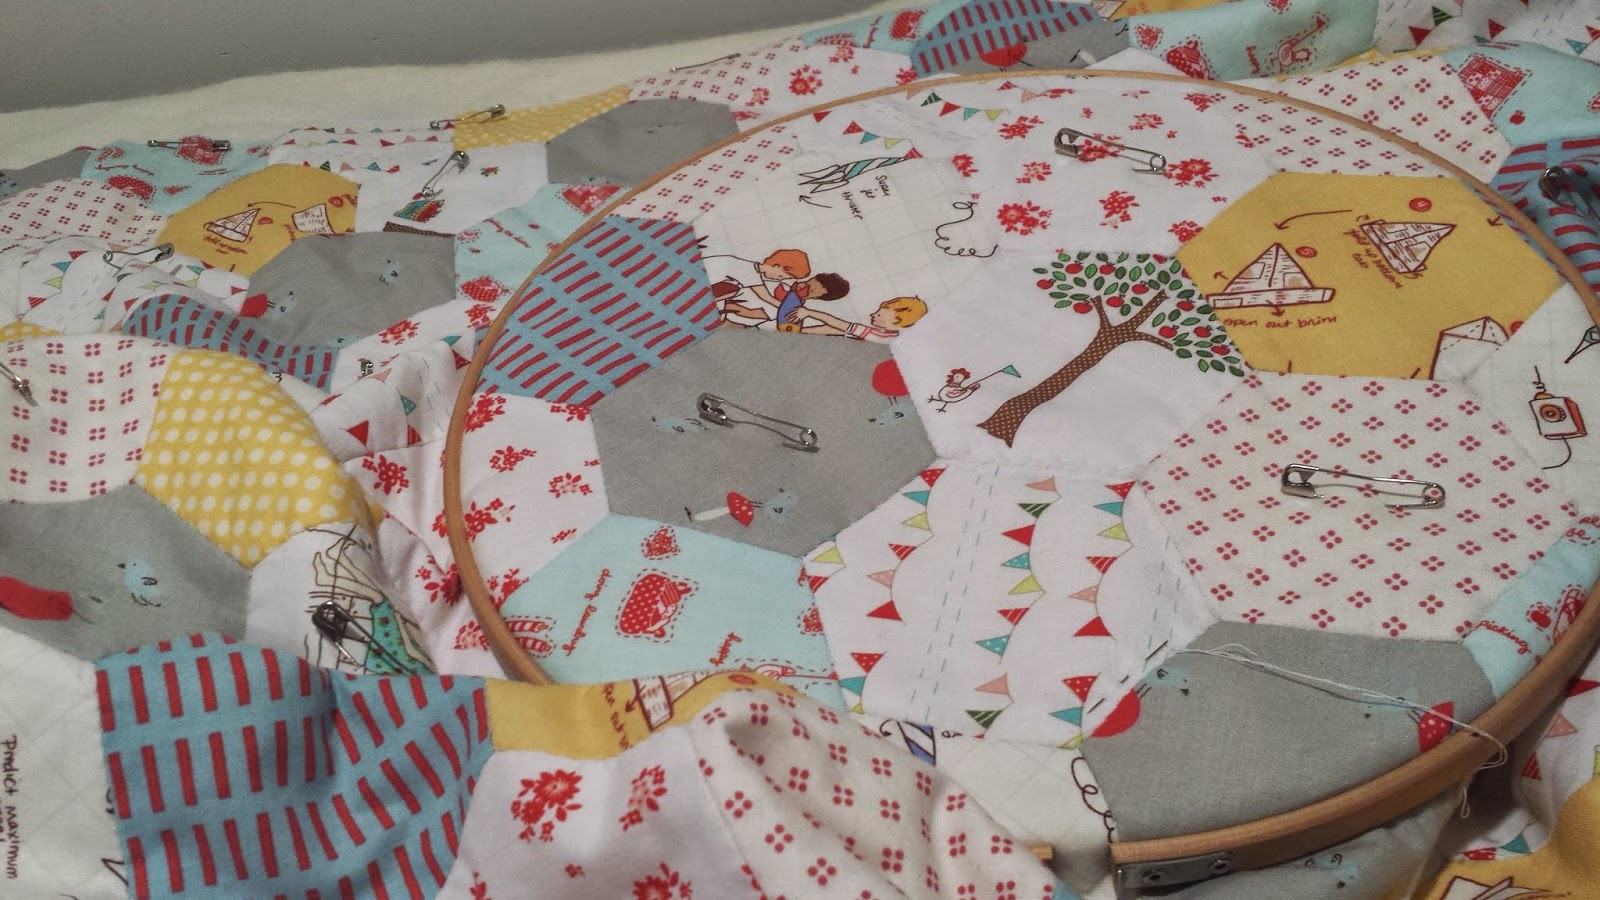
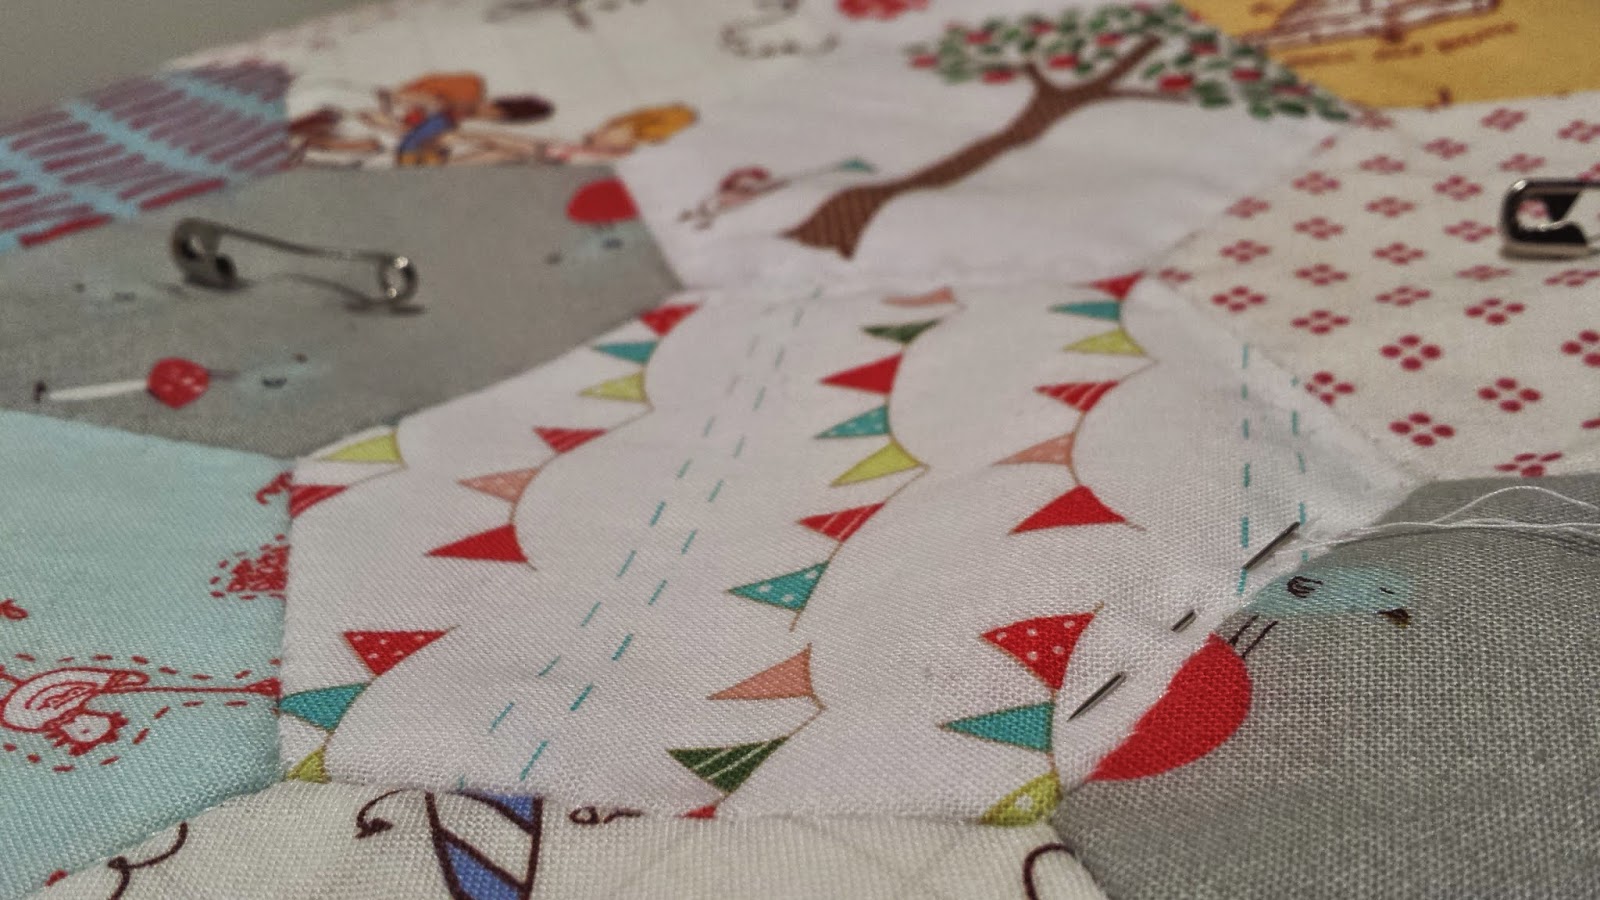
A few weeks ago I finally finished the hand-sewn, hand-quilted hexagon blanket for my son that I started when I found I was pregnant. He's turning 1 in two weeks! It's amazing how times flies! Anyway, I had a bit of leftover fabric that I set aside to make a matching pillowcase.  I wanted an envelope style enclosure with a fun contrast band with a narrow accent, but I couldn't find a pattern or tutorial for exactly what I had in mind.  So I made my own.  Here's what I did:

Materials

1/2 yard Main Fabric
1/3 yard Contrast Band
1/4 yard Accent (optional)
13" by 18" Toddler/Travel Pillow (I used this one)

Cutting

Main fabric--
  Cut one piece 30" wide by 14" tall

Contrast band--
  Cut one piece 11" wide by 14" tall
  Cut one piece 5" wide by 14" tall

Accent--
  Cut two pieces 2" wide by 14" tall
  (Note: this makes a 1/2-inch wide accent strip, for a narrower strip cut the pieces 1.5" wide)


Assembly

Hem one of the 14" sides of each contrast band.  Fold over 1-inch and press.  Open up the and fold up to the crease, press again.


Refold along both creases.  Edgestitch close to the fold.  This makes a 1/2-inch narrow hem.


Fold the accent piece in half length-wise and press.  Open it up and with right sides together, align along the raw edge of the contrast band.  Pin in place and sew along the crease.


Trim the inside edge of the acccent to 1/2". (This will reduce bulk in the next seam.) Fold along crease again.


With sides together, pin the main fabric to contrast band.  Sew a 1/2" seam.


Press the seam toward the main fabric. (It helps to press the seam open first and then to the side.)


Finish the raw edge with an overcast stitch. (A zigzag stitch or pinking shears would work, too. And if you have a serger--by all means use it.)


Repeat with the other side.


With right sides together, fold the pillowcase in half width-wise, so that the contrast and accent bands are aligned.  Pin in place and baste with a long machine stitch about 1/4" inch from the edge.


Fold the extra contrast over so that it wraps around the opposite side. Pin in place and sew a 1/2" seam along each side.  Finish the raw edges with an overcast stitch (or your method of choice.)


Turn right side out and you're done!


The finished pillowcase should measure 13" x 18".


Tuesday, June 2, 2015

Baby Pants


Right now the baby is asleep, the house is clean, and I feel like I've been in possession of super powers for the past 2 days.  This afternoon two dear friends from my Stitch & Sew days came over for a visit. One of them is due to have her second boy in about a month, so I racked my brain over the weekend for what gift I could get for him. I wandered around the mall on Sunday, but nothing looked special enough. I finally decided that I'd have to make something.  I doubted I could get anything significant done by Tuesday afternoon. Still, I had to try.

Should I make a quilt or a blanket? A toy? Bibs? Burp cloths? ... I remembered I had a pattern for some adorable baby pants. I could make a whole set! So yesterday morning I dug out the pattern, copied it onto Swedish tracing pattern (the best stuff ever!) and after the Fredster's morning nap, we took a trip to the fabric store.  I washed and dried the fabric and managed to get it almost completely cut out by the end of his last nap.  After his bedtime, I went to work.  He fell asleep at 7pm and I was done by 10:30. Hurray!!


The pattern is from Purl Soho. It's so quick and easy! I used the overcast stitch on my machine to finish the seams, so they should hold up in the wash. The only difficult part was sewing the gusset, but with lots of pins, I didn't have any problems.


Thursday, May 28, 2015

Finished Hexagons #1


I've had my hands full the past few weeks trying to keep up with my crazy kid.  He's crawling all over the place and pulling up on everything.  So while this quilt has been finished for a while now, I'm only just now able to catch my breath and post about it.  Greg and Monica at West Seattle Fabrics did the machine quilting for me.  This is the first time I've ever had a quilt long-armed, and I'm very pleased with the result.  And they finished it in less than a week!


I'm also still stitching away on the other hexagon quilt.  The hand quilting is going much faster than I had anticipated.  So I'm confident that I'll get it finished by my goal of Freddy's birthday in September.


Wednesday, May 6, 2015

Patches of Sunlight


Yellow is a color that I don't see used very often in quilting. It's terribly bright and can easily become overwhelming. (At least to my unaccustomed Seattleite eyes.)  As I've been working on Freddy's hexagon quilt, I've had a love/hate relation with the yellows I included.  When the quilt is bunched up on my lap, I love the pops of color. But when I lay it out, I'm not so sure. Sometimes I can't focus on anything but the yellow.  Then it starts growing on me again.


Eventually I decided just to embrace the yellow.  I found a yellow and white stripe for the backing, and again I went back and forth about using it or finding a more neutral color.  Yesterday, I got the quilt pin-basted and right now I'm in love with the yellow.  The colors of the quilt seem fitting for a spring day in Seattlepartly cloudy with a chance of thunderstorms and patches of sunlight.


I've also wavered on how to quilt this thing.  I though it might be fun to have it long-armed with maybe a custom design. In the end though, I decided that I wanted a more handmade feel, so I'm going to try and make it entirely by hand. For now, I've pin basted my 'quilt sandwich'. I'll probably end up having to thread baste it once I really get going. 


Last night I attempted a few stitches, but with  no thimble, it was both slow and painful.  This quilt will probably get set on the back burner for a week or two while I finish up a couple other projects.


Saturday, April 25, 2015

Storybook Burp Cloths and Bibs


This weekend I'm attending the baby shower of a friend from college. It's the first shower I've been invited to since becoming a mom, so I wanted to make something special and useful that wouldn't take too much time in the sewing room.  (I'm also playing the piano for a school musical this week, so I've only had a few nap times to spare.)  I decided to go with something that I use everyday, many time times a day: burp cloths.  I had a fat quarter bundle of 'Storybook' lying around. The soft blues and browns would work for a boy or girl, which is perfect, because this baby's going to be a surprise.

I lined the burp cloths with one-sided terry cloth. I've seen it called 'baby terry' or 'French terry'.  It's thick enough to absorb various consistencies of baby fluids, but thin enough to tuck a whole burp cloth (or two) into your pocket. I made the burp cloths about 10-inches by 16-inchesa much more practical size than the long skinny cloths I've seen in stores.


My son, Freddy, is a few months into eating solid foods, and we are going through a couple bibs every day.  So I decided to also make a set of matching bibs, using one of Freddy's bibs to make a pattern.  I traced his bib onto Swedish tracing paper (which is seriously the best stuff for making or copying patterns, go buy a roll!)and I added about a 1/4-inch seam. In retrospect, a 1/2-inch seam would have been better. It was difficult to make sure that I had securely closed the hole for turning when I did the top-stitching.


Instead of cutting the terry cloth out with the pattern piece, I just left it as a big rectangle. This saved me the hassle of wrestling with it through the machine.


I sewed 1/4-inch from the edge of the cotton (again, a 1/2-inch seam would have been better), and then trimmed away the terry.


A hammer is a necessary part of every sewing room, don't you know.


The finished gift: 6 burp cloths and 6 bibs. I used 6 fat quarters, ~1.5 yds of terry, and six size 15 snaps.


Freddy agreed to model one for me. :-)


Tuesday, April 14, 2015

Another Kind of Paper Piecing


I wasn't looking for a crazy new project. Really, I wasn't. But sometimes they just find me. I came across this new pattern today, and I was instantly inspired. I've never done any foundation paper piecing before, so this evening (after watching a short tutorial) I gave it a try.


My verdict: Mostly fun. Kind of messy (lots of little scraps and threads). Quite a bit of going back and forth between cutting, sewing, and pressing. I've still got some things to learn.

I was concerned about removing the paper, but it was really easy. The stitching perforates it, and it tears out without any problem. The hard part for me was joining the two sections of the block. My seams didn't quite meet up. I'm sure there is an easy way, so I'll hunt for another tutorial tomorrow.

Saturday, April 11, 2015

Improvisation

A square of batting. A bin of fabric strips. A quarter of an hour. A little imagination. A ton of freedom. Quilt-As-You-Gofor the late night sewer, the tired mom.


Wednesday, April 1, 2015

Tulip Fever


Last Friday, Freddy and I drove up to the Skagit Valley Tulip Festival with my mother.  We brought a picnic lunch and spent all of the late morning/early afternoon at RoozenGaarde.  The sun came out as we walked out to the fields.  There we rows upon rows of red, purple, and yellow tulips; and fields of daffodils, too.  I brought home nearly five dozen tulips, which have been cheering up the dining room and living room all week.


The trip really put me in the mood for spring.  So last weekend I updated the linens in the dining room and started working on a quilted wall hanging.  The "Tiny Tulip" pattern is one I have from Quilting in the Rain, and I just used fabrics from my stash.  The quilt top took about 5 hours to cut out and piece.  Quilting and binding were another 3 or 4.  All together a very quick project.


To hang the quilt, I decided to try out this method from the Craftsy blog.  A friend gave me a yardstick and Command hooks, which saved me from a (possibly rainy) walk to the hardware store. If it stays up overnight, I will call the project a success.


Happy Spring!